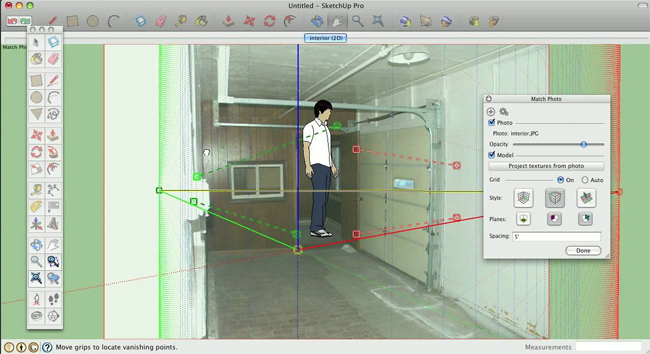
Sketchup is a powerful 3d modeling program that can be used for prototypes, models, functional parts and more. In this regard Mich Judelag, the sketchup expert provides some helpful tips on how to design your first 3d model in sketchup. One can learn how to transform 2D shapes into 3D and maneuver them in different manners ranging from moving & pushing to scaling and copying.
1st step – Initially, choose the perfect level of sketchup to download and then work accordingly. For beginner’s sketchup users, it is recommended free version. For advance users, sketchup pro will be suitable to perform advance tasks like scaling and exporting and importing from CAD.
2nd step - Choose the workspace from the opening window with Simple Template – Meters. Go through SketchUp’ button located at the lower right side of the window and click on the template and then on the ‘Start. Mark the box at the lower left side that shows ‘Always show on startup,’ to choose any template while opening the application each time.
3rd step – Explore through a list of toolbars and click large toolset to create your first 3d model with the use of different types of tools. Ensure to uncheck the other toolbars.
4th step - There are red, green, and blue axes to view any model from various directions as well as apply ‘snapping’ for alignment. Now, the sketchup users will be able to generate 2D shapes.
5th step - Get trained to draw some basic outlines like lines, rectangles, and circles. Go through the complete tutorial (i.materialise.com/blog) to get the guidelines to apply them efficiently.
6th step - Get some useful tips on how to apply Pan and Orbit for basic movements. Pan is so simple as clicking on the exact icon, clicking to fix the origin, and then holding the mouse button and dragging. This process will facilitate the users to move your view.
For Orbit, click on the icon and then clicking anyplace. It is possible to hold, drag, and rotate the whole view. It can also be performed by the mouse wheel.
7th Step - It’s very vital to have clear idea with Edit > Undo, as well as Alt + Backspace, which can reverse a step. Don’t forget to save your work with File > Save or Ctrl + S.
8th Step - Start creating 3D models by zooming in and featuring the plane of a shape. If the plane is highlighted (i.e., if a dotted texture is shown on the plane), click on it and just drag it upwards. Click the left mouse button further to fix the height of your cylinder, cube or cuboid. Or type the height after the first click. Now, your 2D shape will be transformed and you will get the first 3D object.
To read the complete article, go through the following link 3dprint.com
 |
| Image Courtesy: youtube.com |
~~~~~~~~~~~~~~~~~~~~~~~~
Published By
Rajib Dey
~~~~~~~~~~~~~~~~~~~~~~~~
No comments:
Post a Comment