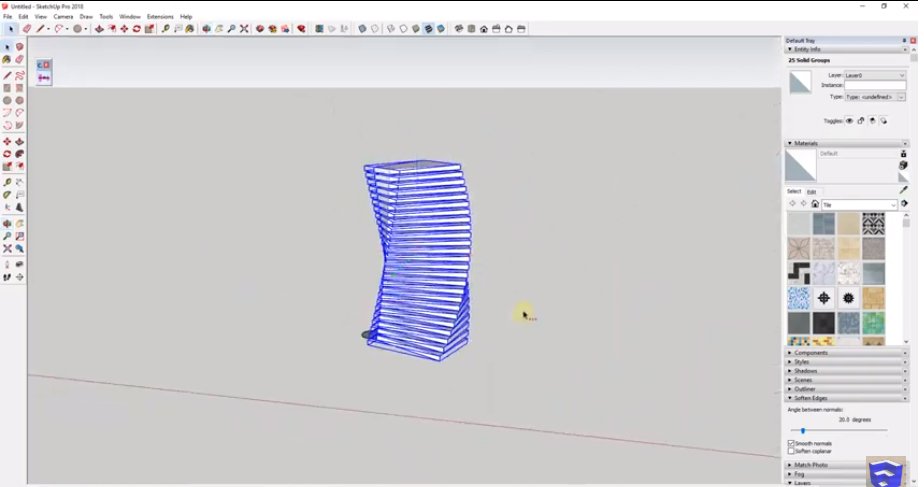
SketchUp is a 3D modeling software which is full of easy using tools both are handy for beginners and professionals; though the Freehand tool is a drawing tool for beginners.
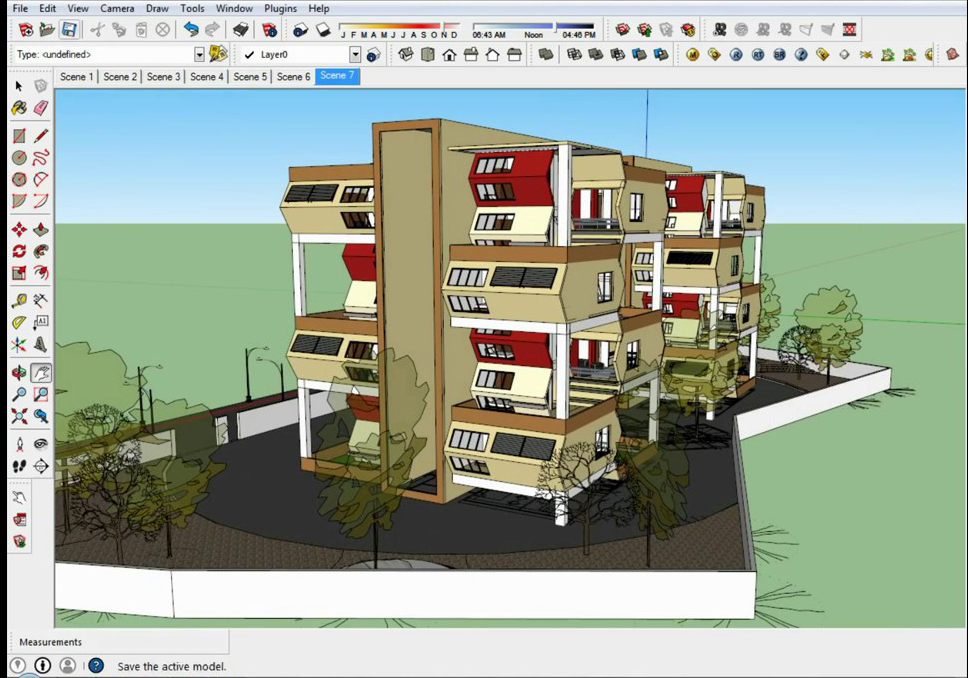
About SketchUp: SketchUp or Google SketchUp is mainly a 3D modeling computer program that is used for a broad range of drawing applications used by architects, interior designer, landscape architects, civil and mechanical engineers, film and video game designers also. SketchUp can be getting as a freeware version named SketchUp Make and a paid version with many more extra benefits called SketchUp Pro. SketchUp is software from Trimble Company and there is an online library of free model congregations and 3D Warehouse to which users can add other models; besides that, the program has drawing layout functionality with variable ‘styles’, supports third-party ‘plug-in’ programs hosted on the Extension Warehouse to supply other abilities and enables placement of its models in Google Earth. As SketchUp users are most of architects, designers, builders, makers and engineers etc.
who works hard to give a nice shape to our physical world, they need great tools to do the work. SketchUp is in mission to bring their best to produce some great tools for drawing as drawing is the key thing of the SketchUp users. They draw to search ideas, to identify the things and to show other people their work that they do with love and love to build; SketchUp understands it truly and trying to improve their software day by day. Almost everything can designed in 3D with SketchUp and who have splattered in 3D drawing or are interested to learn the basics of design, SketchUp for Dummies has made it faster and easier to learn the ropes of a powerful, user-friendly tool that bring life into the design ideas. Users can get guidance here from creating a basic 3D model to showcase their work through 3D print or animation, literally everything in SketchUp that can help in anywhere like from redesigning the house to mocking up the future great invention. More than that, SketchUp’s vast usability has gotten very wide success as a tool that even non-designers can also make basic drawings; there are also many expert tips from former SketchUp product director Aidan Chopra and co-author Rebecca Huehls that help to draw and access SketchUp.
About Extension Warehouse: It is an online resource with various plug-ins developed made especially for SketchUp and these extensions help to add some special tools and features to SketchUp. These extensions can be found for any particular application like drawing or 3D printing and some industry specified tools for architecture, interior design, construction and many more. So basically in this Extension Warehouse people can do the following things:
• Users can search extensions by name or as per the functionality.
• They can also install various extensions with a single click of a button.
• Or users can also control all the extensions from easy-to-use location in the My Extension page.
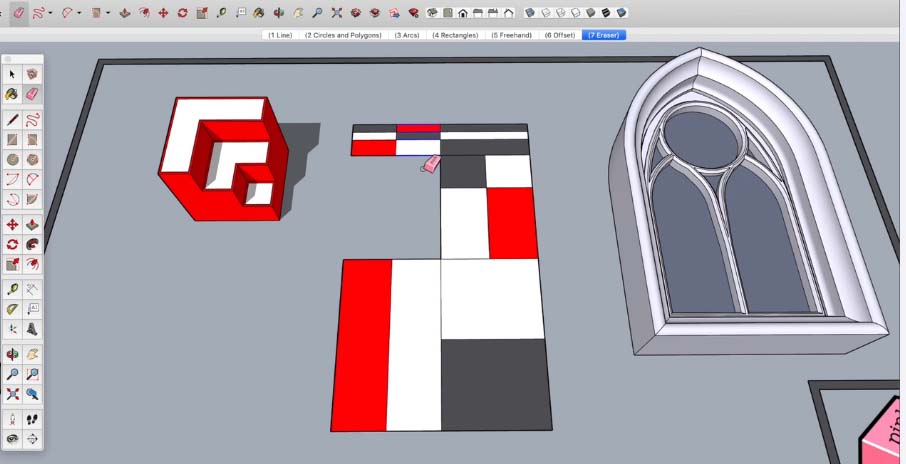
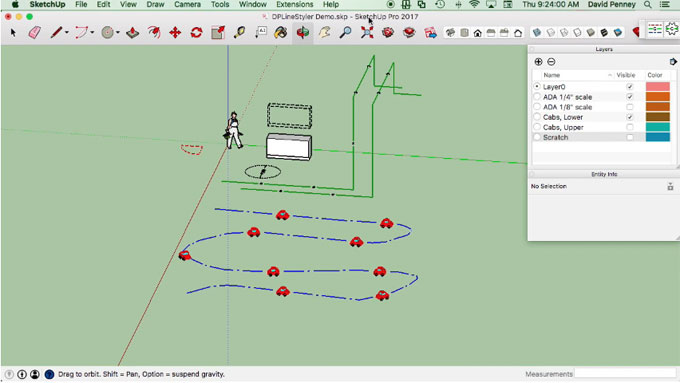
About Freehand Tool: SketchUp’s Freehand Tool is a handy tool which will help to trace imported drawings, create a2D sketch and decorate models. This tool will help to create hand-drawn lines, like the planter decorations or simple lines. This tool can be found in the following places:
• Getting Started Toolbar (Click the drop-down arrow next to the Line tool)
• Drawing toolbar
• Large tool Set Toolbar
• Draw > Lines submenu
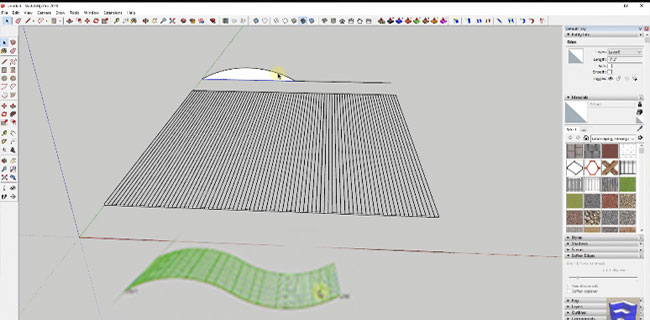
Method to use Freehand Tool: Drawing Toolbar is found in the following path: View> Toolbars> Check the Drawing Option. After clicking on the Drawing option or Drawing Toolbar a small window will open where some icons can be seen; from there users need to left click on the Pencil icon which will activate the Freehand tool, then simply moving mouse users can draw their shapes and after completing the drawing just need to click on the mouse and the drawing will be completed.
Under the hood, the drawn lines with the Freehand tool become curve entities or ployline entities. Here is a little information that is needed to know about each of these entity types:
• The curve entity contains many line segments but can be defined and divided a face like a single line. Despite of selecting all the segments in a curve entity at a single time, the SketchUp inference engine displays point and edge inferences for every segment in the entity.
• While a polyline entity doesn’t create faces or affect geometry in any way. A polyline entity is created only when am user can hold down the Shift key similar as drawing with the Freehand tool. These polyline entities are thinner than curve entities.
~~~~~~~~~~~~~~~~~~~~~~~~~~~~
Published By
Rajib Dey
www.sketchup4architect.com
~~~~~~~~~~~~~~~~~~~~~~~~~~~~