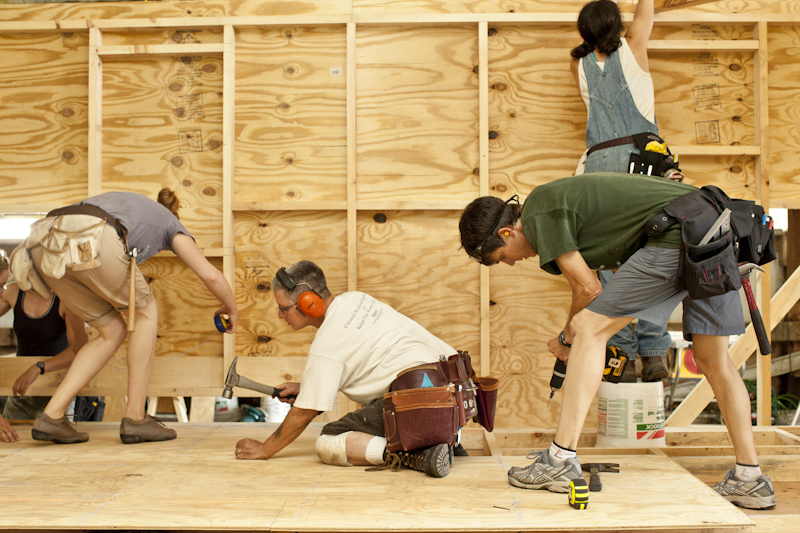
Carpentry is a profession of men- this old thinking has broken by Maria, a successful lady woodworker and the founder of the school, Hammerstone: Carpentry for Women.
About SketchUp
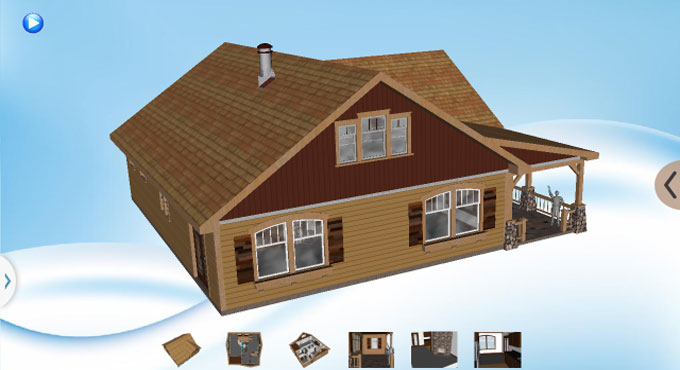
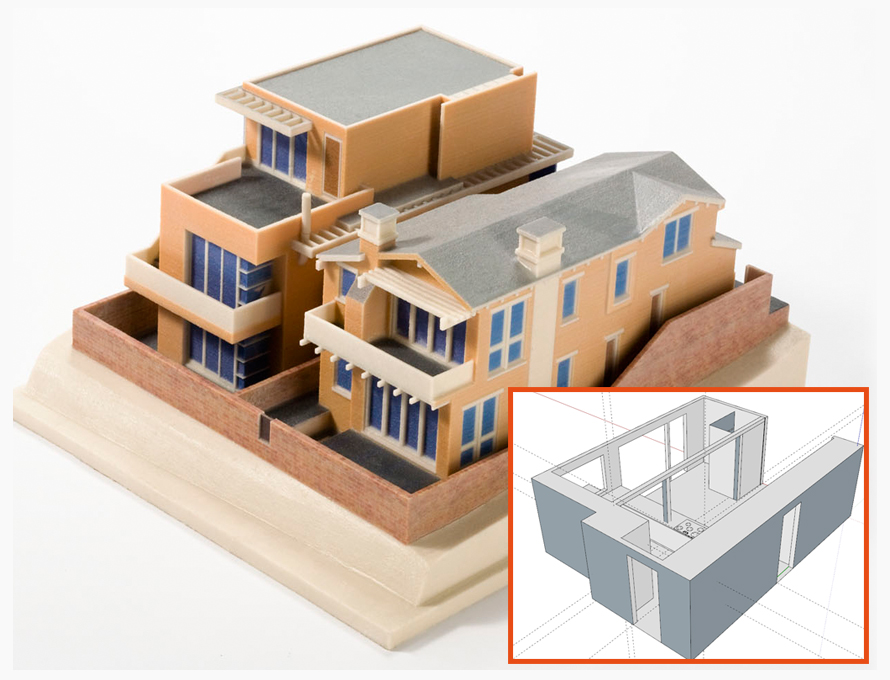
SketchUp or Google SketchUp is mainly a 3D modeling computer program that is used for a broad range of drawing applications used by architects, interior designer, landscape architects, civil and mechanical engineers, film and video game designers also. SketchUp can be getting as a freeware version named SketchUp Make and a paid version with many more extra benefits called SketchUp Pro. SketchUp is software from Trimble Company and there is an online library of free model congregations and 3D Warehouse to which users can add other models; besides that, the program has drawing layout functionality with variable ‘styles’, supports third-party ‘plug-in’ programs hosted on the Extension Warehouse to supply other abilities and enables placement of its models in Google Earth.
Women are also working similar as men do in many fields which become a subject to be proven again and again for the sake of our society’s narrow mentality. Here is a formally trained women carpenter, Maria Klemperer Johnson who has taken over carpentry instead of her academic degrees and this article is dedicated for her, her passion, works and many unknown facts that are still hidden.
About Maria and her school of carpentry
Maria Klemperer Johnson is not a regular carpenter, but she is formally trained in computer science but had left her successful academic career to become successful in trades. But when she felt that there is the need of women in carpentry or woodworking, she established her own school the Hammerstone School of Carpentry for women which are basically her family business and now she is the owner and head teacher and leading carpenter on the School’s construction projects. She is fond of constructing buildings, particularly natural building ad timber framing is visible in her every work and classes. She is a supporter of high performance construction using natural materials and besides a creative woodworker; she is also an experienced SketchUp modeler and instructor.
Maria’s inspiration to start the school
From her childhood, Maria has enjoyed everything related to the building and got interested in it as both her father and grandfather were hobbyist woodworkers. They made many interesting projects and Maria helped them for completing the works, and following this passion she took woodshop classes in middle school. But soon she realized that it is not only her part of interest it has become her part of personality and decided fast to take up this field as her career path. She had studied Computer Science in college where she learned virtual creation that helped her to improve her passion for building and in Geology; she became to know the usage of both body and mind in an outdoor setting doing field work. But soon she lost all her interests in these two paths and chose the construction industry where she became a creative person, physical outdoors and working with wood. Though entering in this field was not easy for her as construction field is mainly recommended as a male field and she was dominated by them but she found the way to set up herself as a successful contractor. When this field also started to irritate her much she lost all her interest and started her school, Hammerstone: Carpentry for Women; an effort to introduce more women with construction and woodworking.
Role of SketchUp in her life
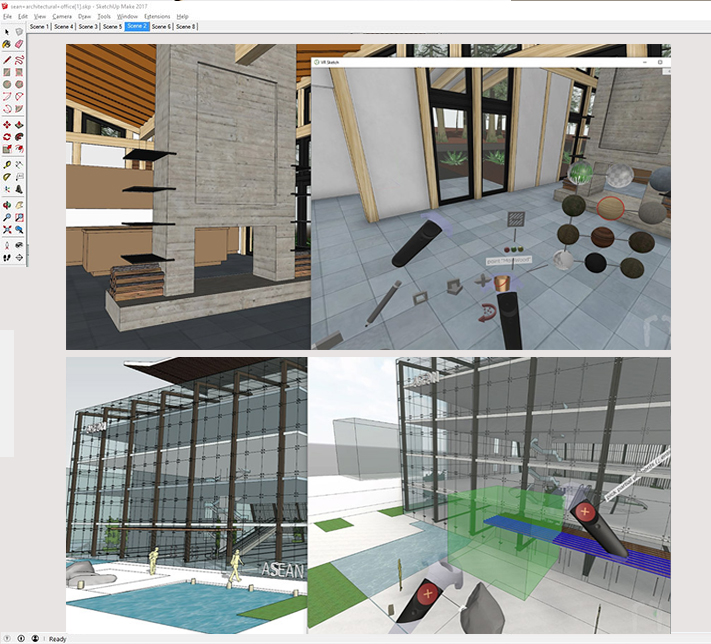
Maria is an expert SketchUp user and uses SketchUp for designing her projects, in her words she was introduced to SketchUp while building Timber frames and there she found that working with SketchUp is perfect for modeling timber structures. She also uses some more dynamic scenes of SketchUp for solving the challenges of growing frames and thinking through orders of operations of assembly.
Goal of Hammerstone
Hammerstone is the one school where females are carpenters and in America where fewer women chose carpentry as a career there Hammerstone has made its place so strong and all is for Maria. Hammerstone has the goal to create more gender equality in the trades and to empower more women to handle more construction projects in their career, this will open their minds and the minds of other people that carpentry or construction is not only for men, women can also handle this tough things easily.
About the students of Hammerstone and their expectations
The students of the school come from a wide range of life stages and some of them have a thought to build their own tiny houses or some are changing their traditional paths and starts to find something new that will give them more independence while moving to a new life. But some are very tough who faced difficulties in their life or drive motorcycles or some are senior citizens great grandmothers who just want to experience something new. The common thing among them is that they all are eager to learn their hunger to do something new and the power of breaking stereotypes that bound them in one line and they all become the students of Hammerstone.M
Philosophy between introducing carpentry to students
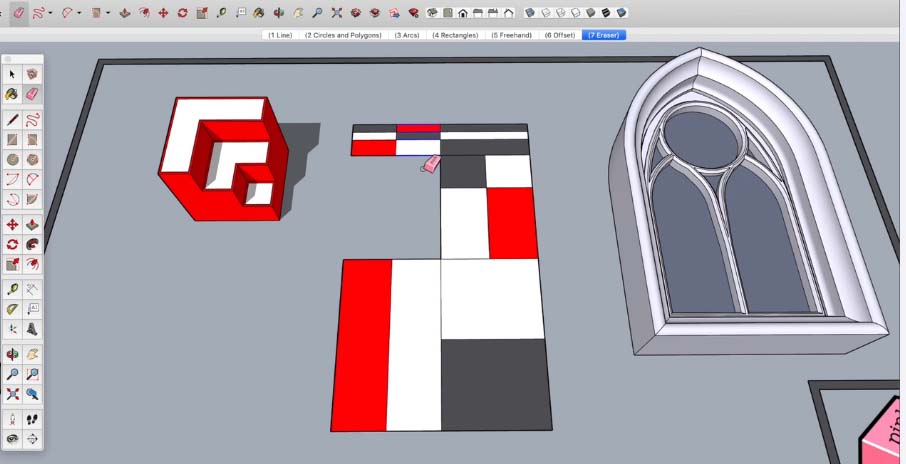
It is right that learning in age of adulthood is difficult than learning at the beginning stage as adults have a tendency to do everything perfect in a single try. They don’t want to fail and learn instead they want everything instant and not to spend much time over any particular thing. So Maria tells her students to work on SketchUp as SketchUp is all about practice and practice makes a person better.
Maria enjoys herself being a carpenter that has taught her the methods of fixing mistakes in life, inventing new ways to fix different mistakes which may in the life or in construction.
~~~~~~~~~~~~~~~~~~~~~~~~~~
Published By
Rajib Dey
www.sketchup4architect.com
~~~~~~~~~~~~~~~~~~~~~~~~~~