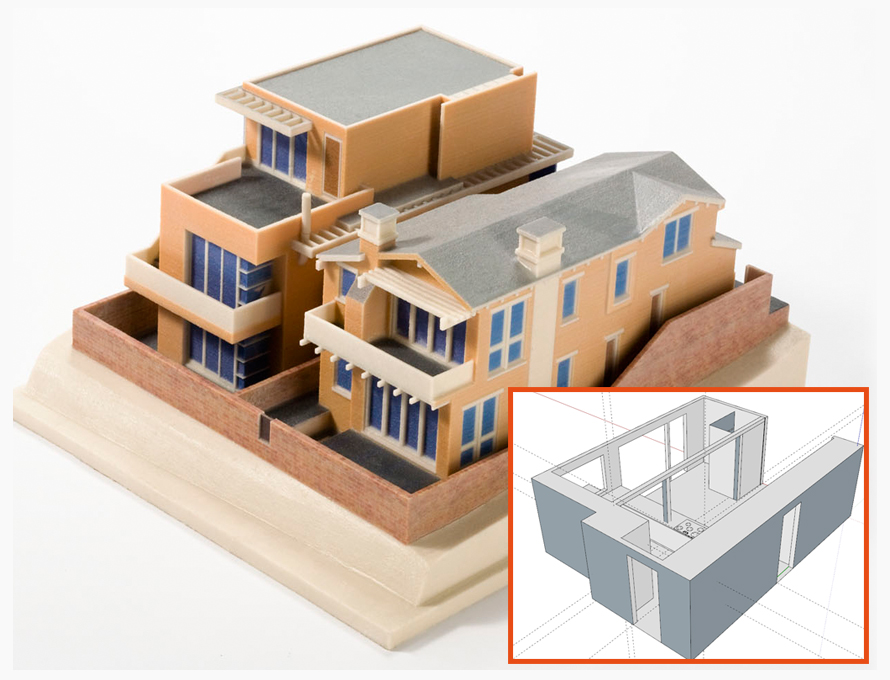
SketchUp models are suitable for 3D printing but it only can happen when the parts of any model are assembled together, there are different ways to assemble those parts.
In the previous tutorials of Sketch Up, Aidan and Rebecca have shown us the way to cut Sketch Up model into parts but the matter is now to assemble them in a way for printing them. There are many other strategies and features in SketchUp like mechanical or else to help in building into the model to assemble the parts together. Aidan and Rebecca are going to show the users through different processes and here is a brief discussion on it.

In the previous tutorials of Sketch Up, Aidan and Rebecca have shown us the way to cut Sketch Up model into parts but the matter is now to assemble them in a way for printing them. There are many other strategies and features in SketchUp like mechanical or else to help in building into the model to assemble the parts together. Aidan and Rebecca are going to show the users through different processes and here is a brief discussion on it.
Tolerance in SketchUp: It is the difference between the sizes of users’ part in SketchUp and the size of the part produced by their 3D printer. Suppose a user has drawn a 10mm cube in SketchUp and printed it, none of the sizes of the printed cube will be shown exactly 10mm; though these are very small differences like a few tenths of a millimeter more r less. But they can create problems if their 3D printed parts have to connect with the parts that already exist in the real world. That’s why the manufacturer of the 3D printers gives a unique number for the machine’s tolerance which may be in either plus or minus value. This value is called the Maximum variation for that machine and users both need to be aware while working.
Tolerance in SketchUp: Clearance is like an extra space for parts to slide past one another but users may face a little difficulty while installing similar size peg in a similar sized hole as they will not go together. The peg and the hole will not fit properly with each other in SketchUp but in real world they will not react like this as there the peg needs to connect with friction. The exterior of the peg is similar as the exterior of the hole that the friction between them will keep the peg from veer going in if the fit is too perfect for them. In that case, users need to add a small amount of space called clearance which will help the two parts to slide past each other; the amount of clearance depends on the exact movement of the part.
Glue in SketchUp: Glue is the universal way to stick things but it is also the weakest and most unreliable way as it has very little strength o keep the things tighter for long.
- The plastics which are used in 3D prints defined by the names ABS, PLA, PVA, nylon and PETT; all these plastics need a special glue to stick and the glues have to order online.
- Biodegradable starch plastics consists a crystalline structure that doesn’t go well with liquid superglue which stays liquid and move unexpectedly across the surface of the part.
- Instead of glue, users can use epoxy which is though a messy stuff but will stick to anything.
- No glue can stick to the flexible materials for 3D printers so to attach parts, a process called thermal welding.
Snap fittings in SketchUp: These are properly designed to pop the models together after the parts come off the printer and as these are removable so users can change out many parts of the model as per design. In SketchUp, snap fittings are created by two general steps: 1) creating the tongue with the Line and Push/Pull tools; 2) creating a matching capture point on the opposing part.
Press Fit in SketchUp: A press fit is the very little clearance between the two parts while designing and when the parts are pressed together forcibly, friction keeps the joint together without any extra hardware or glue. To make a press fit, the Offset tool is used to create an outer lip on one side of the connection and an inner lip on other side.
Bolts, Screws and Hardware in SketchUp: The strongest connection between 3D printed parts is holding together with metal hardware and these connections are great for things that are more than just prototypes. While integrating hardware into the design, include hardware in the SketchUp model as it will take measurements of the parts users need to use and model them in SketchUp. Then save the components in the component library for using them in further models.

~~~~~~~~~~~~~~~~~~~~~~~~~~~~
Published By
Rajib Dey
www.sketchup4architect.com
~~~~~~~~~~~~~~~~~~~~~~~~~~~~
No comments:
Post a Comment