Photoshop is a powerful application on its own merits. Its power, however, can be significantly increased by using it in tandem with another application like Illustrator, Cinema 4D, or in this case, Google SketchUp. Today, we will create some cool 3D text using this free architectural application.
To create a daytime rendering by exporting images from SketchUp to Photoshop is a wonderful trick. This means no external rendering programs are needed. This rendering is not meant to be realistic, but instead, provide an option for quick artistic renderings without the "SketchUp" look.
It explores the idea of Ambient Occlusion shading to easily and quickly add realism to SketchUp images via Photoshop. This is done without ever using a rendering engine such as MAX or VRAY. The idea behind Ambient Occlusion is basically a really fast way of adding realism to a rendering by adding shadows in corners where geometry meets. You will often see me adding this affect in a lot of the videos may be created using the BURN tool in Photoshop. This video demonstrates how easy it is to get a really cool effect using just images exported from SketchUp, and a few tools from Photoshop.
If any of you have watched the Kerkythea clay model tutorial, you will notice that you get a similar look. The rendering engine is doing all of the work for you. The idea behind this new video is to show the power of the BURN tool in Photoshop, and how it can be applied to architectural illustrations. If there isn’t a lot of complex geometry in the image (in my case an aerial view of my design) than this method serves as an option to bypass using a rendering engine such as Kerkythea altogether and still get a really nice looking final result. Also, if your final illustration is looking a little flat, its an easy way to add a little punch to it.
Now we can have a discussion on how to merge SketchUp with Photoshop:
It explores the idea of Ambient Occlusion shading to easily and quickly add realism to SketchUp images via Photoshop. This is done without ever using a rendering engine such as MAX or VRAY. The idea behind Ambient Occlusion is basically a really fast way of adding realism to a rendering by adding shadows in corners where geometry meets. You will often see me adding this affect in a lot of the videos I created using the BURN tool in Photoshop. This video demonstrates how easy it is to get a really cool effect using just images exported from SketchUp, and a few tools from Photoshop.
If any of you have watched my Kerkythea clay model tutorial, you will notice that you get a similar look. The rendering engine is doing all of the work for you. The idea behind this new video is to show the power of the BURN tool in Photoshop, and how it can be applied to architectural illustrations. If there isn’t a lot of complex geometry in the image than this method serves as an option to bypass using a rendering engine such as Kerkythea altogether and still get a really nice looking final result. Also, if your final illustration is looking a little flat, its an easy way to add a little punch to it.
As the title implies, this architecture illustration tutorial doesn't use a rendering engine. There are few other tutorials in the past that don't involve a rendering program, however this tutorial does things a little differently, and in less time. You will probably notice some similarities to the Ambient Occlusion tutorial which was posted a while back. After making the ambient occlusion tutorial that could take advantage of the export options of Sketchup, and use the line work of the model to generate the shading. Because of this, the process is extremely streamlined and can be done in minutes.
Here's how it works.
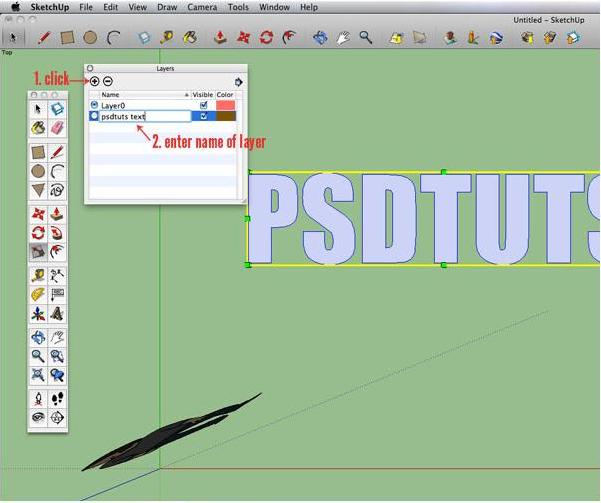
Begin by downloading the free version of Google Sketchup here. When you first open Sketchup, you’ll be prompted with a dialog box asking what style to begin with. I have chosen the simple style, with blue sky and green ‘grass’ (this is completely your preference, it will have no effect on your final outcome). Open the main tool box by clicking View > Tool Palettes > Large Tool Set. There are a few tools we’ll make a lot of use of, so it’s helpful to familiarize yourself with their shortcuts. These are the same on Windows and Mac: select: (spacebar), push/pull: (p), offset: (f), orbit: (o), pan: (h), zoom: scroll up or down, or (z)
~~~~~~~~~~~~~~~~~~~~
Published By
Arka Roy
www.sketchup-ur-space.com
~~~~~~~~~~~~~~~~~~~~
No comments:
Post a Comment