Simone Piccioni
This post has little tutorial because they lack many passages difficult to explain when the model is complex to implement and especially because everyone has their own technique, but may give you some ideas.
First I tried a good image in the network blueprint, after uploading it to Sketchup and designed the contours of the body, I started to model starting from the front wheel arches. Personally I like a lot of eye shape and helped with some photos found on the net.
After finishing the bodywork I used the plugin "Subdivide and Smooth" and to round it to check for any inaccuracy.
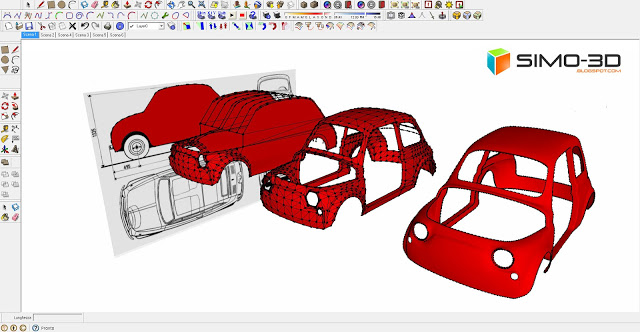
At this point I began to shape the bonnet then I created all around a rim bent inwards to give it thickness , in this way, when it is placed on the body , the effect is better.
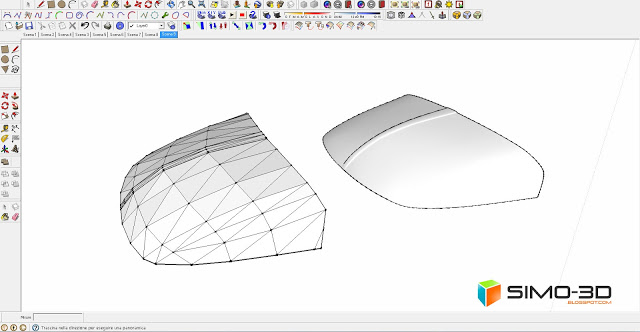
It 's time the bonnet and the parts that compose it.
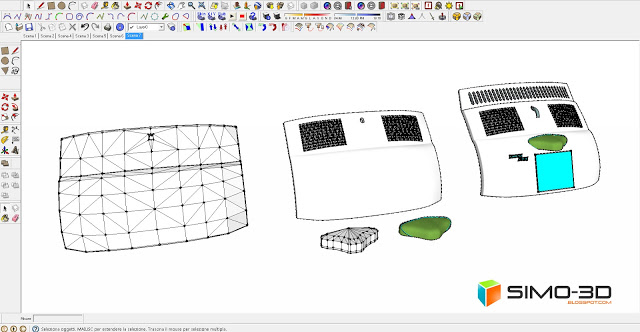
Missing doors that I modeled roughly on the inside.
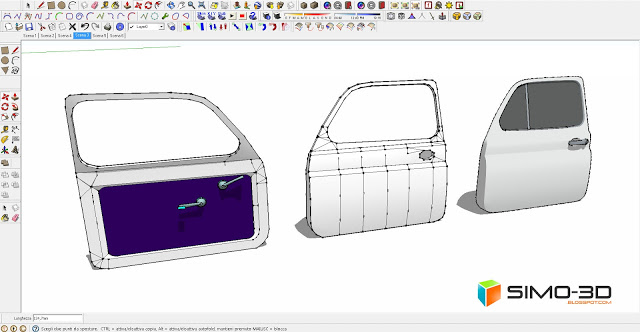
They could not miss the glass with their seals,
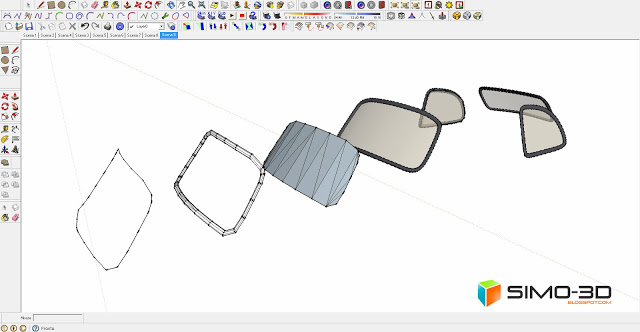
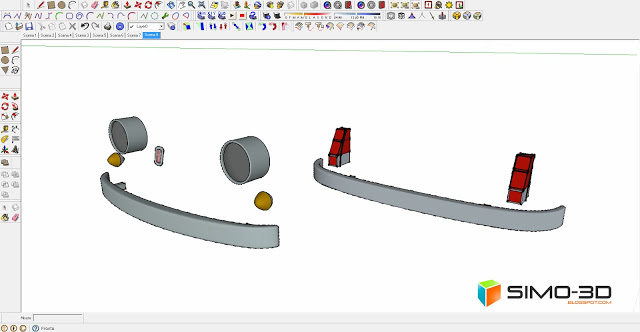
and the bumper with headlights and the Fiat logo in the center.
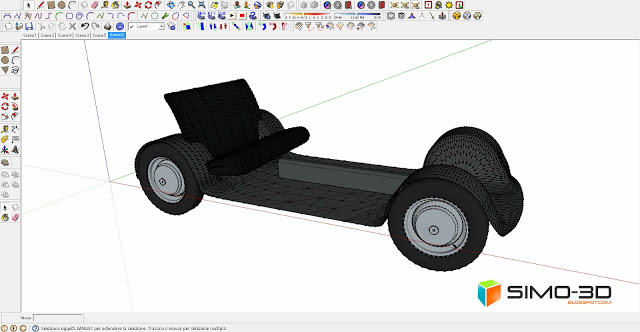
This is the floor with the wheels and the rear seat. Even in this case, the rear seat is quite approximate because that is what you should see less then it is useless to burden the model.
But this car without seats and steering wheel does not go anywhere!
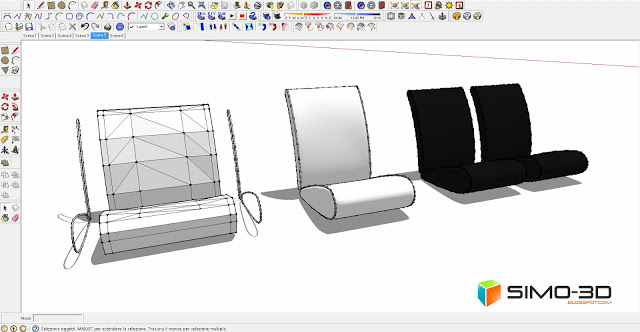
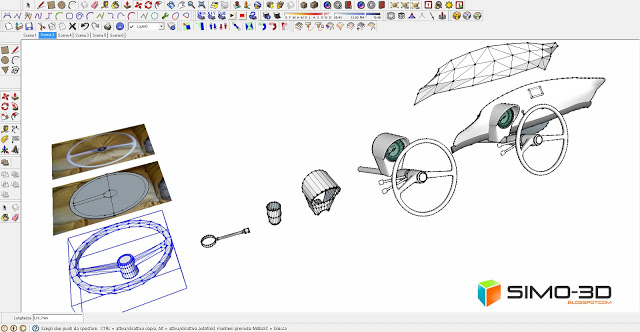
So taking a cue from other photos found on the net I started modeling the steering wheel, odometer and instrument panel complete with ashtrays and buttons.
Even in this case, to round off, I used the plugin "Subdivide and smooth".
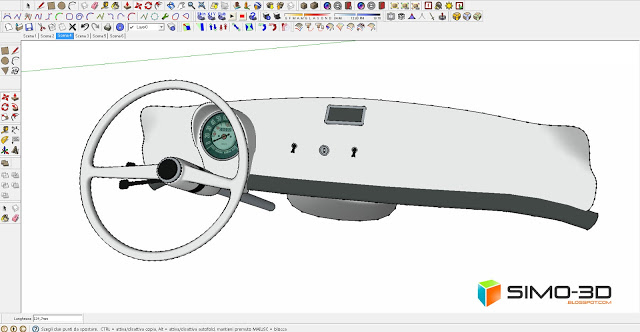
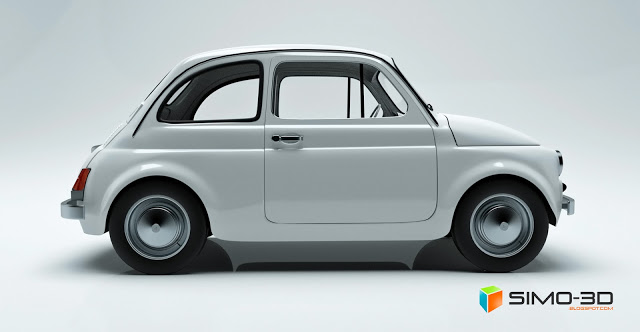
I put together all the pieces and ...
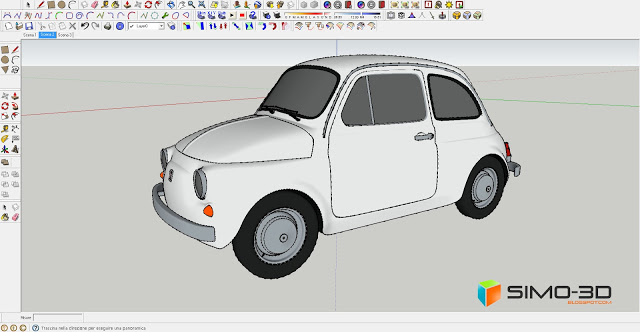
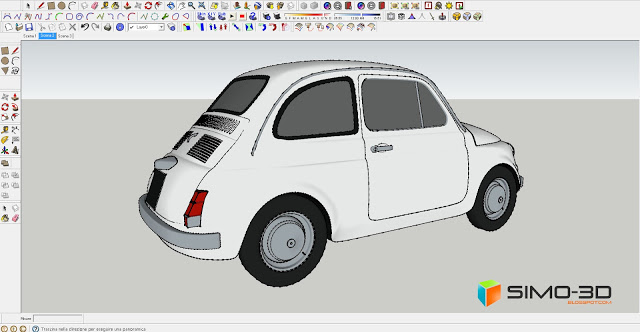
my Fiat 500 ... it's over!
~~~~~~~~~~~~~~~~~~~~~
Published By
Arka Roy
www.sketchup-ur-space.com
~~~~~~~~~~~~~~~~~~~~~
No comments:
Post a Comment