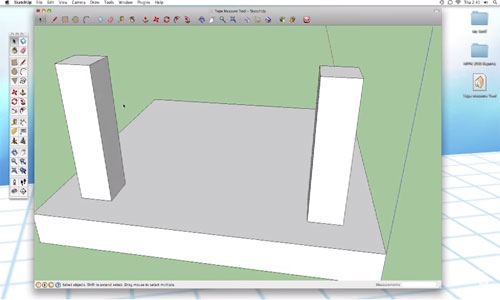
SketchUp tools are designed to give you the simplest way for designing your model. Tap Measure tool does its task of measuring the design without any hassle. It is as easy as dragging and dropping something. But the tool follows a few guidelines that offer you different ways to use the feature. The content discusses them nicely below.

You can activate the Tape measure tool from the Tool manure or large tool set tool. But the most preferred option is shortcut key T from your keyboard that will you to use the feature. The default option of Tap Measure tool is in a guide mode, but you can change it to the measure mode with CTRL key. This tool will help you measure from one end to multiple points as per your need.
Parallel guide lines:
Sketching parallel guide lines needs a few clicks. Click anywhere in the design along an edge you want to parallel with. SketchUp will understand that you want to create a guide parallel. On moving your mouse, you can see the parallel, dashed line.
Linear guide lines:
You can simply create a linear guide with clicking an endpoint or a midpoint and click somewhere along the edge. Your linear guide will be generated.
Guide point:
You can create a guide point with clicking an endpoint or midpoint and click again somewhere in space. A little X will appear at the end of the dashed line – this place is your guide points.
I am referring a video that presents Tap Measure tool in details.
Video Source: Harwood Podcast

~~~~~~~~~~~~~~~~~~~~~~~~~~
Published By
Rajib Dey
www.sketchup4architect.com
~~~~~~~~~~~~~~~~~~~~~~~~~~
No comments:
Post a Comment