If you want to make a curved surface in SketchUp, in can be a difficult process to get it just the way that you want it. You can draw it manually line by line, by this is very time consuming and it is very hard to make it look good and smooth. There are plugins that make this much easier, but I’ve discovered a way of getting smooth rounded shapes just using basic SketchUp.
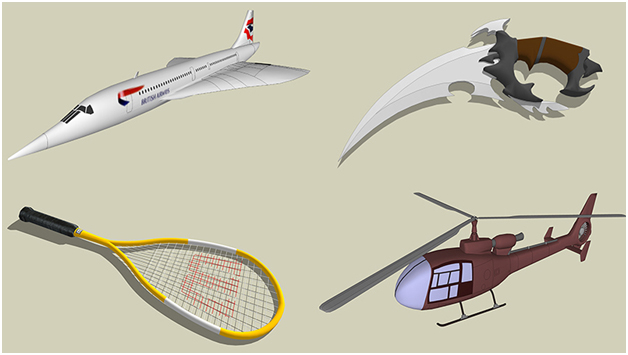
There is a method that I call “Pull and Scale” that is an easy way to make almost anything that you can think of. Here are some examples of models that I’ve made using this method.
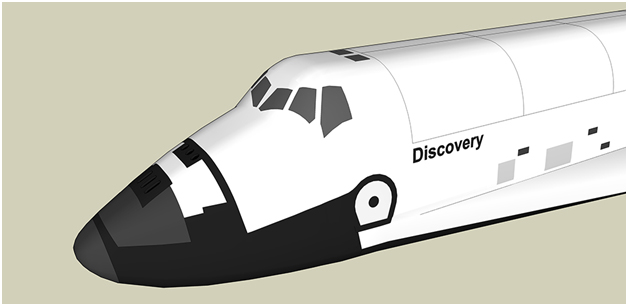
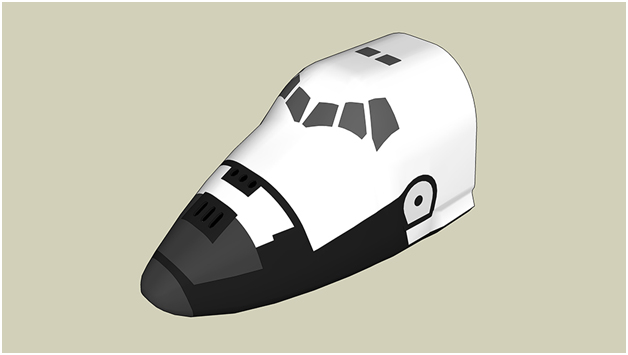
For this tutorial, I will show making the front part of this space shuttle:
The easiest way to start is with images or line drawings of the front, side and top. These are easy to find online for almost anything you want to make.
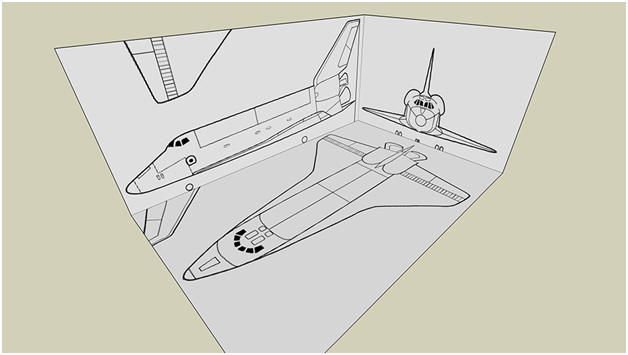
Of course, reference drawings aren’t necessary for this procedure, but I like having them to make sure that the model I draw is in scale. I typically trace over the drawing to get the overall shapes that I want to work with. Also, since the shuttle is symmetrical left and right, I make trace half shapes. This way you can mirror it over in the end and your model stay perfectly symmetrical.
So choose the starting method that you like best. For this tutorial I setup the images as follows, and trace over them. Notice the only one of the shapes is filled in. This is the face that we’ll be working with. The face of the others has been deleted so it’s just linework. This makes it easier to see what you are doing. Make the line work groups, so you don’t accidentally change the shape of it while modeling. If also helps to lock the object so you can’t move it at all.
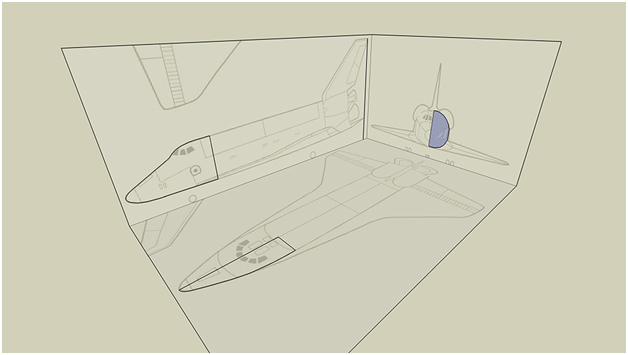
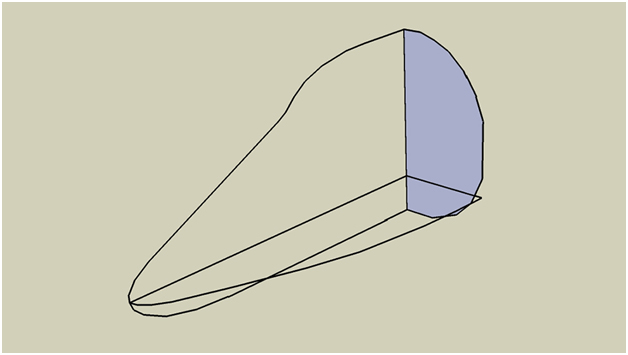
Using the Pull tool, pull the face out a bit. The smaller you pull it, the smoother the final shape will be. For a more complicated shape, or for parts that are much more curved, use a very small pull distance. For this relatively simple shape, I can use a larger distance.
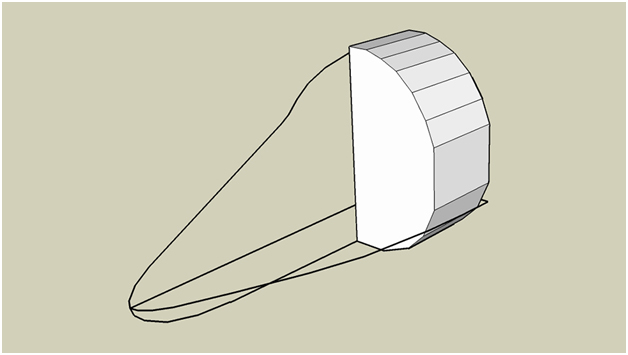
Select the new face on the end and using the Scale tool to change its shape. Be sure to not scale the shape using the grips in on the left side of the shape. This will make an uneven surface to mirror the shape in the end. This is where the reference line drawing come in handy. You can snap to them to make sure that you are getting the correct shape.
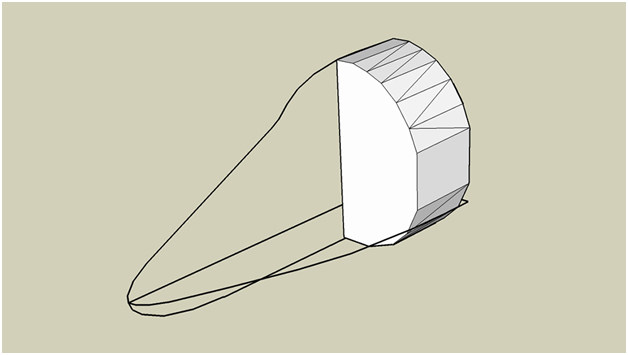
Continue this procedure for the entire shape. Notice that for the front tip of the shuttle, I used a smaller pull distance because I wanted a smoother nose.
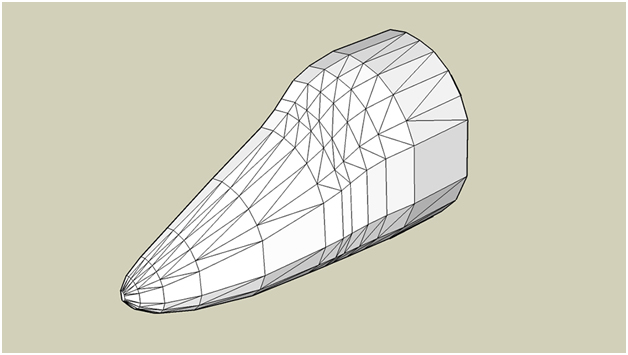
Highlight the entire model and go to Window -> Soften Edges, and set the slider to around 45 degrees. This will makes the shape look much smoother.
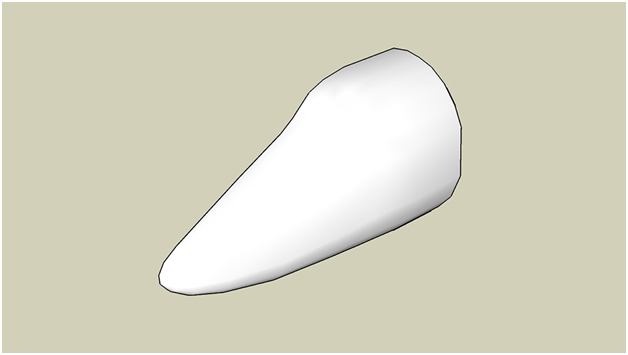
When the shape is complete, delete in inner and back faces and lines, so you are left with the shell only.
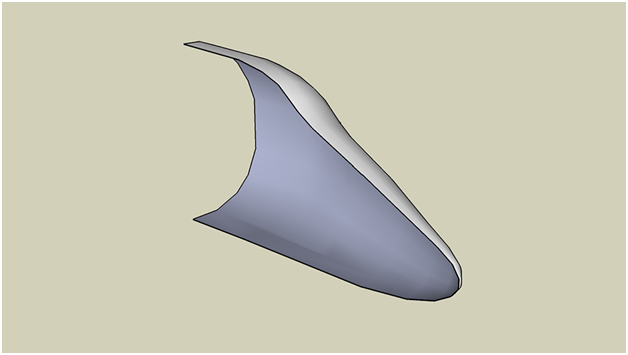
Now using the move tool select the model and press Ctrl to make a copy. Place the copy next to the original shape.
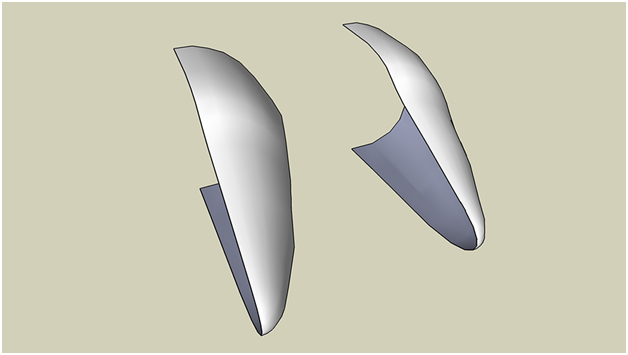
Right click on the new shape and choose “Flip Along… -> Component’s Red” (or Green depending on how your model is oriented)
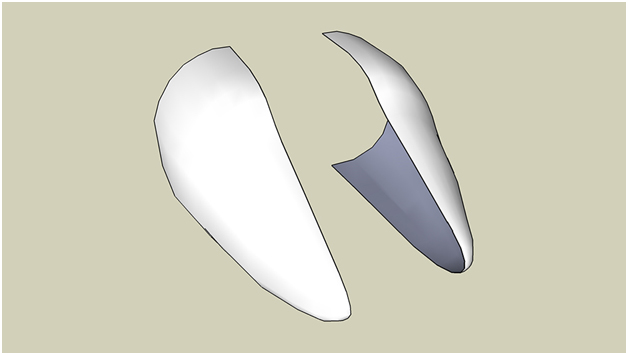
When you move the shapes together, the edges to fit perfectly.
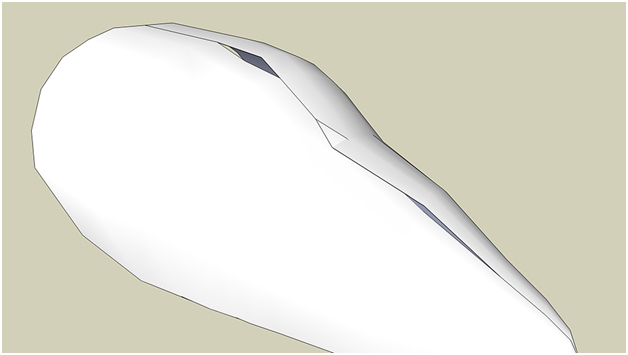
If you see any of the following on your model, it means that at some point in the process you either scaled incorrectly, or you accidentally changes one half and not the other.
Once done correctly, you should see this:
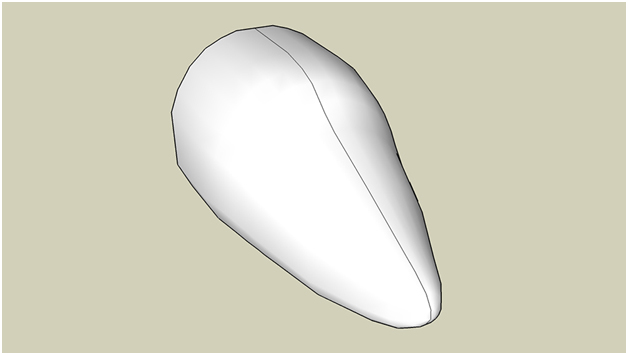
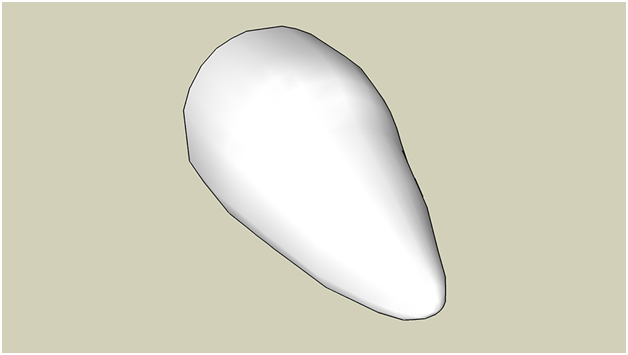
Select the whole model again, and open up the Soften Edges dialog again, and smooth the new edge. For this, make sure the “Soften coplanar” option is selected
The basic shape is done!
Now you can further add things like windows, by tracing the line drawings, extruding and moving the shapes so they intersect the shuttle at the correct places. Like this:
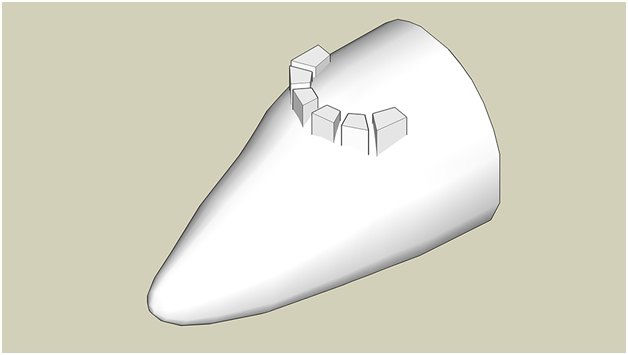
Right click on the hull and choose “Intersect face… -> With model”. Now when you delete the shapes you just created, you will be left with the shapes “stamped” onto the curved hull.
From here you can use the paint bucket to colour the windows separately from the rest of the cockpit. Using this method, you can complete the rest of the cockpit. I’ve developed this one a bit further:
Now that you know this method, the only limit is your imagination!
Raylectron Textures Exporter...
~~~~~~~~~~~~~~~~~~~~~
Published By
Rajib Dey
www.sketchup-ur-space.com
~~~~~~~~~~~~~~~~~~~~~
No comments:
Post a Comment