In a previous post we saw how to map a texture on a model using spherical or cylindrical plug "UVTOOLS", but if our firm has a more complex shape like that of a tent, a blanket or a towel full of wrinkles?
In this case we need:
plugin "Sketch Uv "of Smustard that you can download HERE
and the program "Roadkill UV Tools" that you can download HERE
Nell 'bottom image 3d model of our next towel with the texture you want to apply.
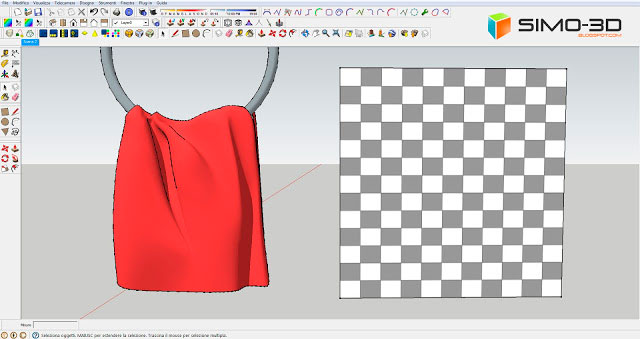
We click in the window of the material Sketchup, the instrument indicated by the red arrow then on texture (see image below), and finally.
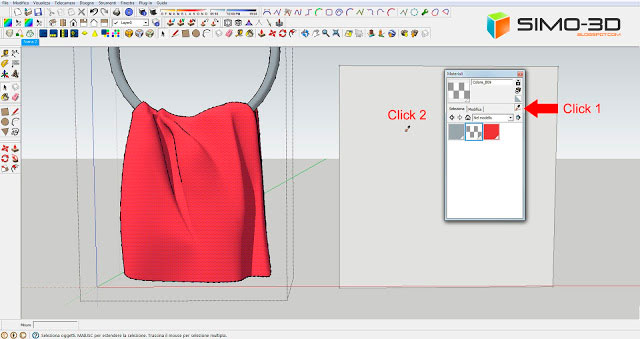
our towel (see image below).
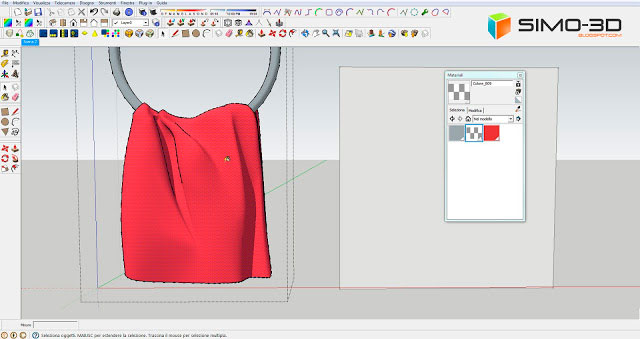
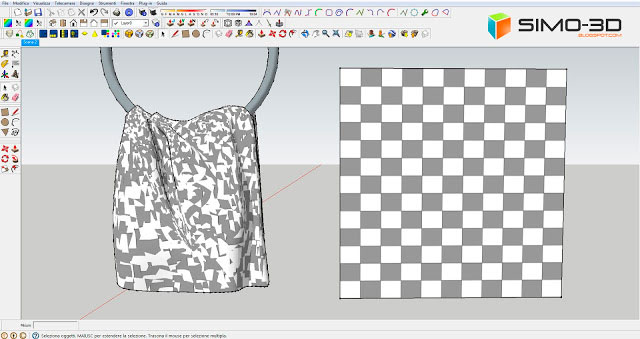
the result will be ... a pretty crap!
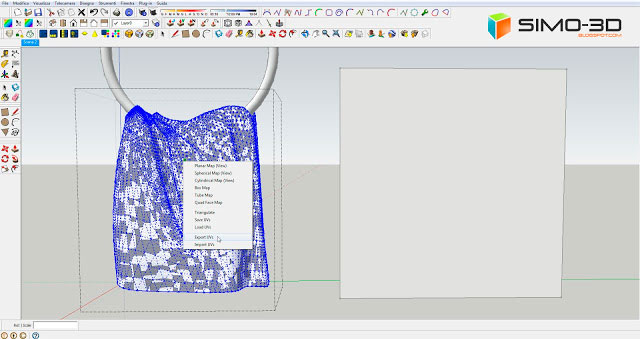
After highlighting our model we click on the instrument of the plugin "Sketch Uv " depicted from the bottom on the toolbar then
the model with the right mouse button and then on "Export UVs"
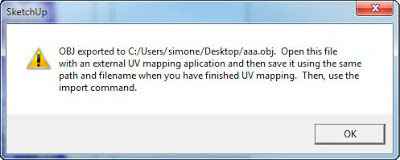
This will open a window where we will see the file path that we are exporting.
At this point we open the program "Roadkill UV Tools" we have previously installed and load the saved file.
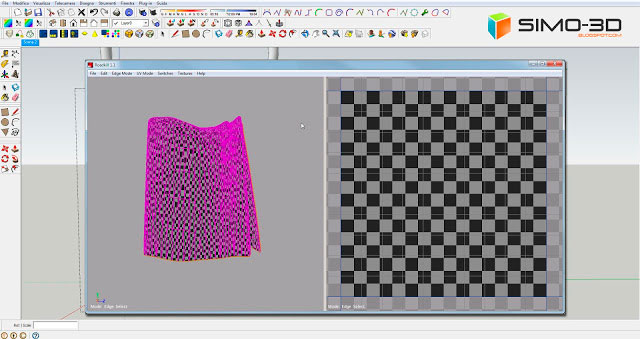
Press "E" and highlight the model in the left pane where we see what it looks like (in the right we will see it as if it was open) then press the "W" (with the "Alt" key pressed we can run with the mouse 3d model at will). Go to "File" in the toolbar and click on "Save".
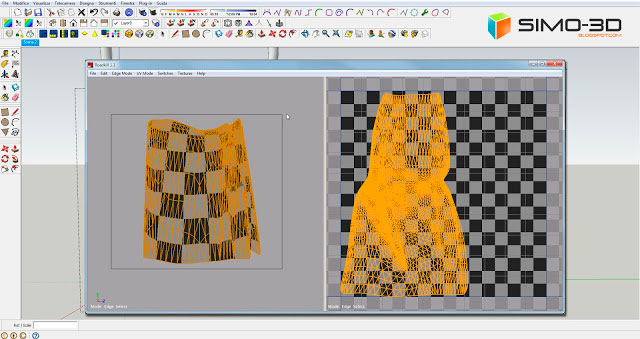
We close "Roadkill" and go back to Sketchup on our model, now with the right mouse button, click on "Import UVs".
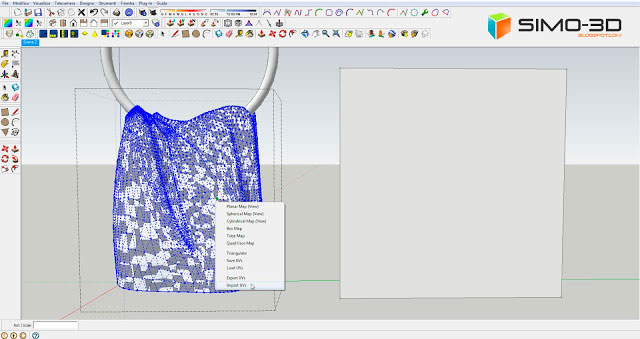
This is the result. Just only adjust the size of the texture directly in the material of Sketchup.
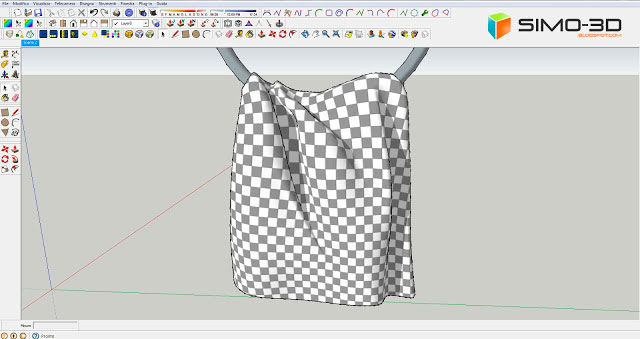
With the plugin "SketchUV" We can also place a texture on a spherical, cylindrical or flat clicking on it with the right mouse button directly from the menu without using "Roadkill".
Ref: simo-3d.blogspot.it
~~~~~~~~~~~~~~~~~~~~~
Published By
Rajib Dey
~~~~~~~~~~~~~~~~~~~~~
No comments:
Post a Comment